Configuring Roles » History » Version 4
« Previous -
Version 4/10
(diff) -
Next » -
Current version
Luke Murphey, 08/12/2012 06:40 AM
Configuring Roles
By default, successfully authenticated users are assigned the "user" role. However, this can be overridden by creating a vendor specific attribute. The attribute should contain a string containing a colon or comma separated list of roles (like "admin:can_delete"). Re-run setup on the RADIUS auth app and configure the app to use the vendor code and vendor attribute ID you defined.
Below are instructions for configuring IAS:
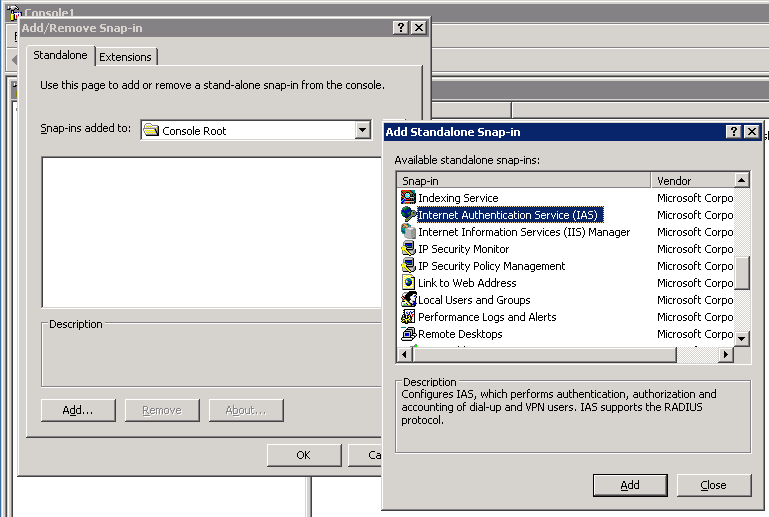
Open the IAS MMC Snap-In
Start the "mmc"
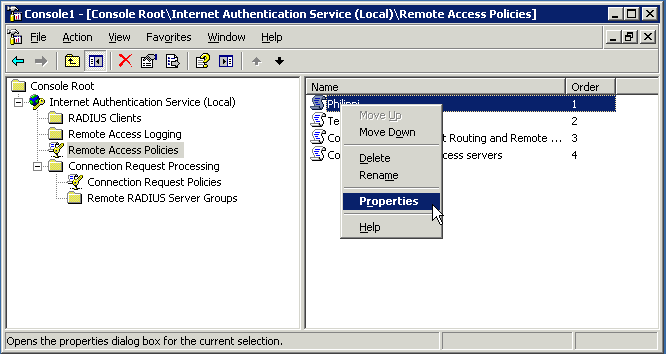
Open the Remote Access Policy
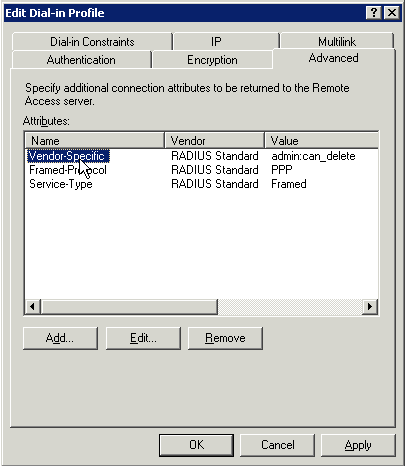
Selected "Remote Access Policies" and open the appropriate policy. Then press the "Edit Profile" button and then click the "Advanced" tab.
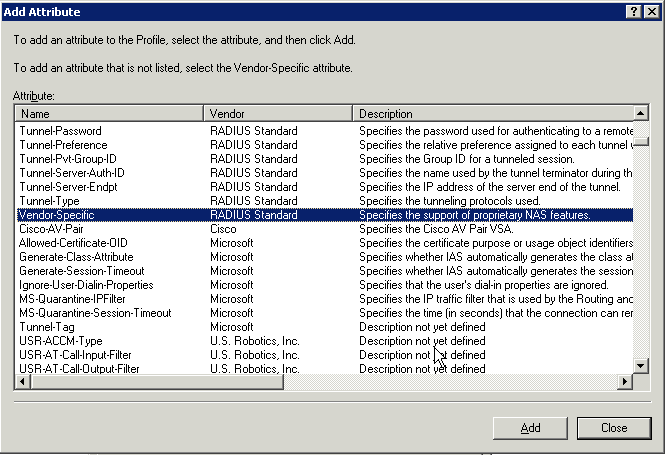
Create a New Attribute
Press the "Add" button and create a new attribute with a name of "Vendor-Specific" and a vendor of "RADIUS Standard".
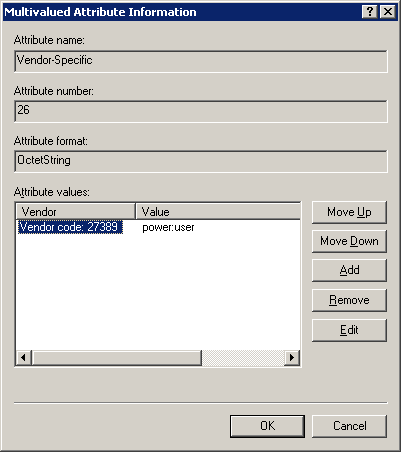
Press "Add" under the list of attribute values. Set the vendor code to 27389 and click the radio button for "Yes. It conforms".
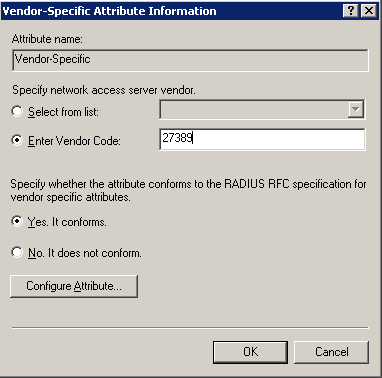
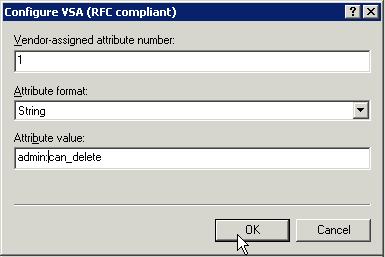
Click "Configure Attribute" to edit the value. Set the "Vendor assigned attribute number" to 0. Select a format of string and set the value to a colon separated list of roles.
The created attribute should look something like this: